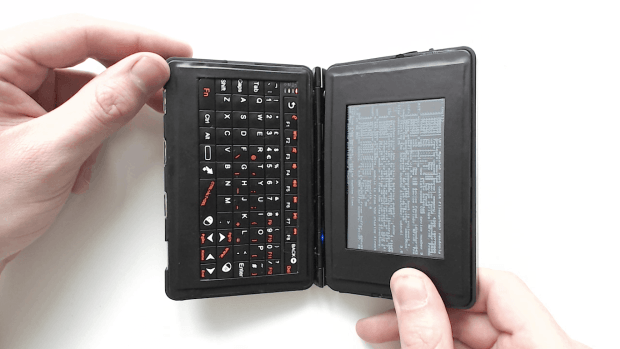
This little, Nintendo DS size laptop is a fully functioning Linux computer that can do just about anything a normal computer can do. This includes playing games, surfing the Internet, watching videos, and even listening to music. You are also able to output the video for usage of an external monitor.
The estimated cost of this build is around $120 (USD)
The parts you will need are:
- Raspberry Pi 2 (900MHz CPU, 1 GB RAM)
- 3x USB Ports
- 1x Ethernet
- Fully QWERTY Keyboard
- Backlit 3.5” Touchscreen
- 1000mAH Battery Clamshell Case (Create this from 2x Hard Drive Enclosures)
- Full Linux OS (Raspbian, using i3 Window Manager)
- Audio/Video out
The building process:
The very first thing that you would need to perform is removing some of the components from the Raspberry Pi board. This is to make the board as thin as possible. This will include removing the 2x USB Sockets, Ethernet Plug, GPIO Pins, 2x Camera Connectors, composite Audio/Video jack, and the HDMI port. I recommend using a soldering iron in conjunction with a solder sucker or solder wick.
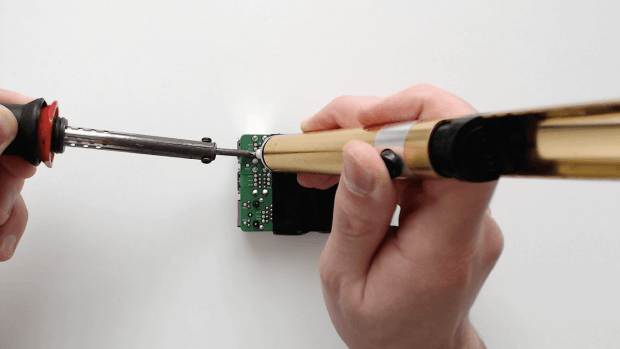
While there are some things on the board that can be desoldered from the board, you can make good usage of a mini-hacksaw and some cutters. However, I caution you not to damage any components, or even scratch the board.
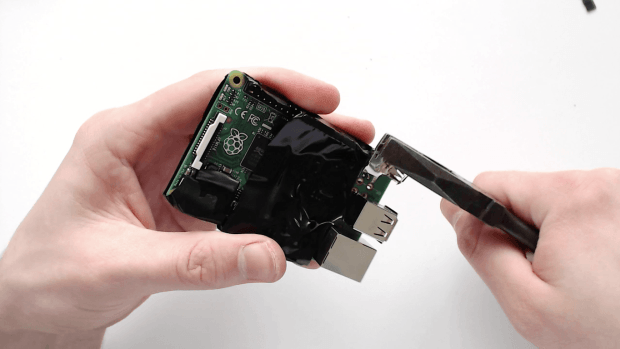
Once you have removed all of the key components, you should be left with nothing more than a really thin Raspberry Pi 2 board.
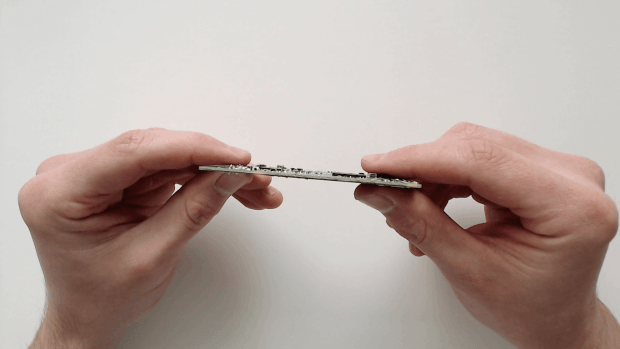
Now, desolder the pins from the PiTFT board. This will free up a lot of space, and making the board even thinner than before. I recommend using the soldering iron to heat up the pins, this allows the pins to come off easily.
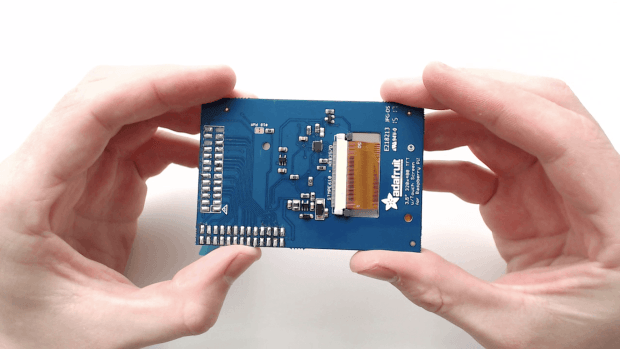
Now comes the fun part, building!
Cut and prep some wires in order to create extensions for your USB, Ethernet and Video/Audio ports. I found it much easier if you tin the end of the wires. This provides more contact points for the components, and bonds together easily.
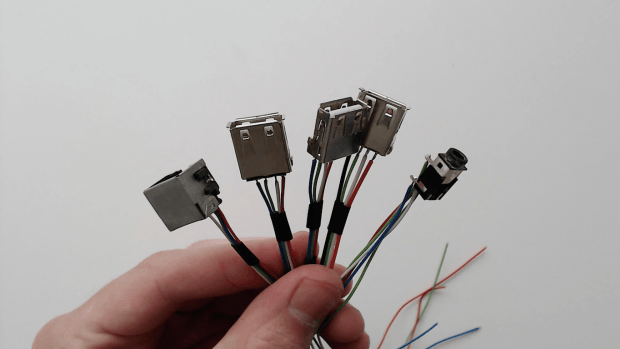
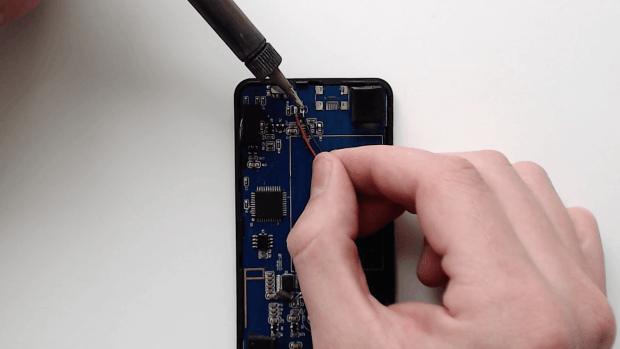
Now, we modify the keyboard in order to be powered by the Raspberry Pi instead of it’s own batter. The only thing you need to do is snip the Red and Black Wires on the battery. Be careful not to damage or puncture anything else.

Now, you simply add a 5v to 3.3v step down regulator to the battery contacts. Just add the red and black wires to where they belong on the board for the battery connection. Again, I recommend tinning the ends of the wires in order to make the soldering more secure and quicker.
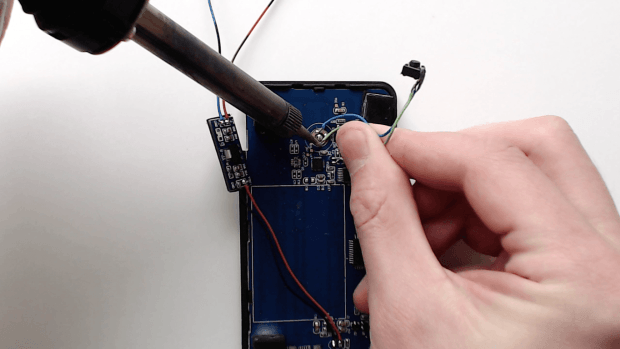
We can also add a button in order to turn the backlight on and off. You don’t need any specific color wires, just solder both ends of the button to each contact. This will momentarily connect both contacts once the button has been pressed.
Now, Engineering time!
We need to properly ‘upgrade’ our 2 2.5 hard drive enclosures. These are super cheap and can be purchased from Amazon and Ebay.
While this is pretty straight forward, it does require a little bit of time. Measure out and cut the top, as well as bottom halves of the case. The tool recommended for this is the hacksaw blade; then you can smooth out the edges with a plastic sheeting and vinyl tape. For those who have a Dremel, you can save a tremendous amount of time.
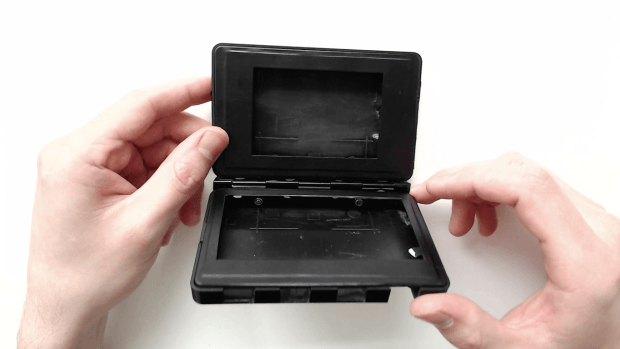
You can add some piano hinges on the back and drill the holes for your wires. You can fix the hinges on the back using really small nuts and bolts to secure the hinges in place.
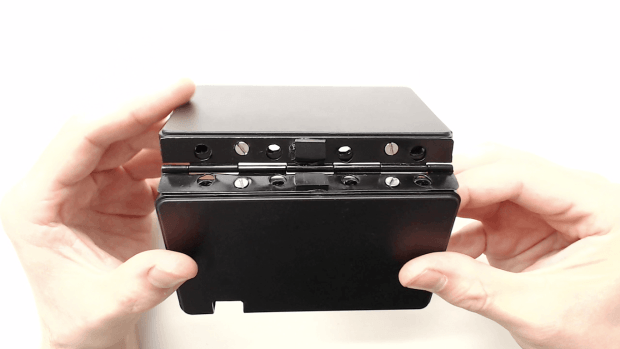
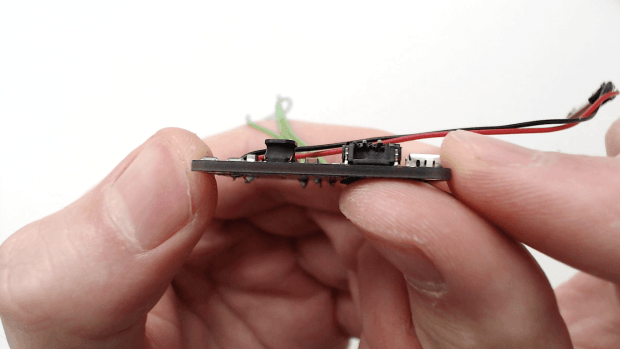
You can reduce the height of the power boost by simply cutting the top of the JST Batter connector off. You can use the hacksaw or cutters to perform this step.
Now, place all of the connectors inside the case, feeding the wires between the bottom and top halves of the hard drive enclousers.
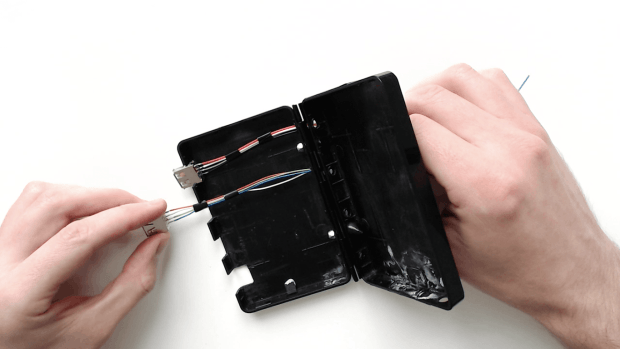
Now, I’m tipping you’ll really hate this part…
You now need to solder everything together. Make sure that the 2 battery wires go through different holes in order to minimize your risk of shorting or breaking in the future. There will appear to be a lot of wires, but simply put, you are just soldering the extensions of the old components used on the Raspberry Pi Board.
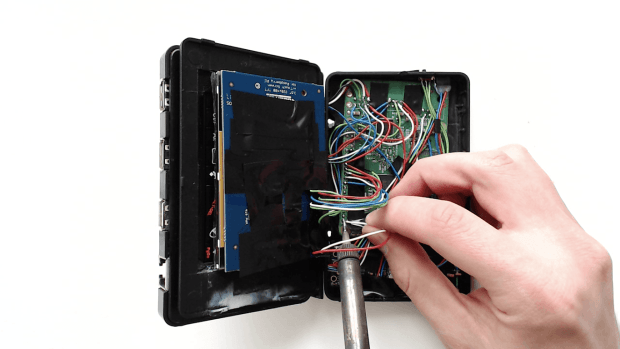
Close the case up and cross your fingers. Now it’s time to pray that your new little computer turns on.

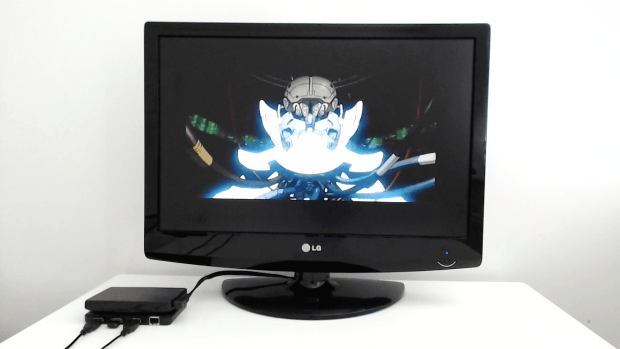
You are able to send the video from the device onto a Television set, or external monitor. However, the resolution may not be of the best. It will however, work perfectly for videos.
Congratulations! You now have a working handheld Linux terminal that fits perfectly into your back pocket.
The video below shows a complete guide upon building the Mini-Linux-Laptop.
This article (How to Build: A Raspberry Pi Linux Laptop that Fits in your Pocket) is a free and open source. You have permission to republish this article under a Creative Commons license with attribution to the author and AnonHQ.com.


